
 |
| Searching for spring |
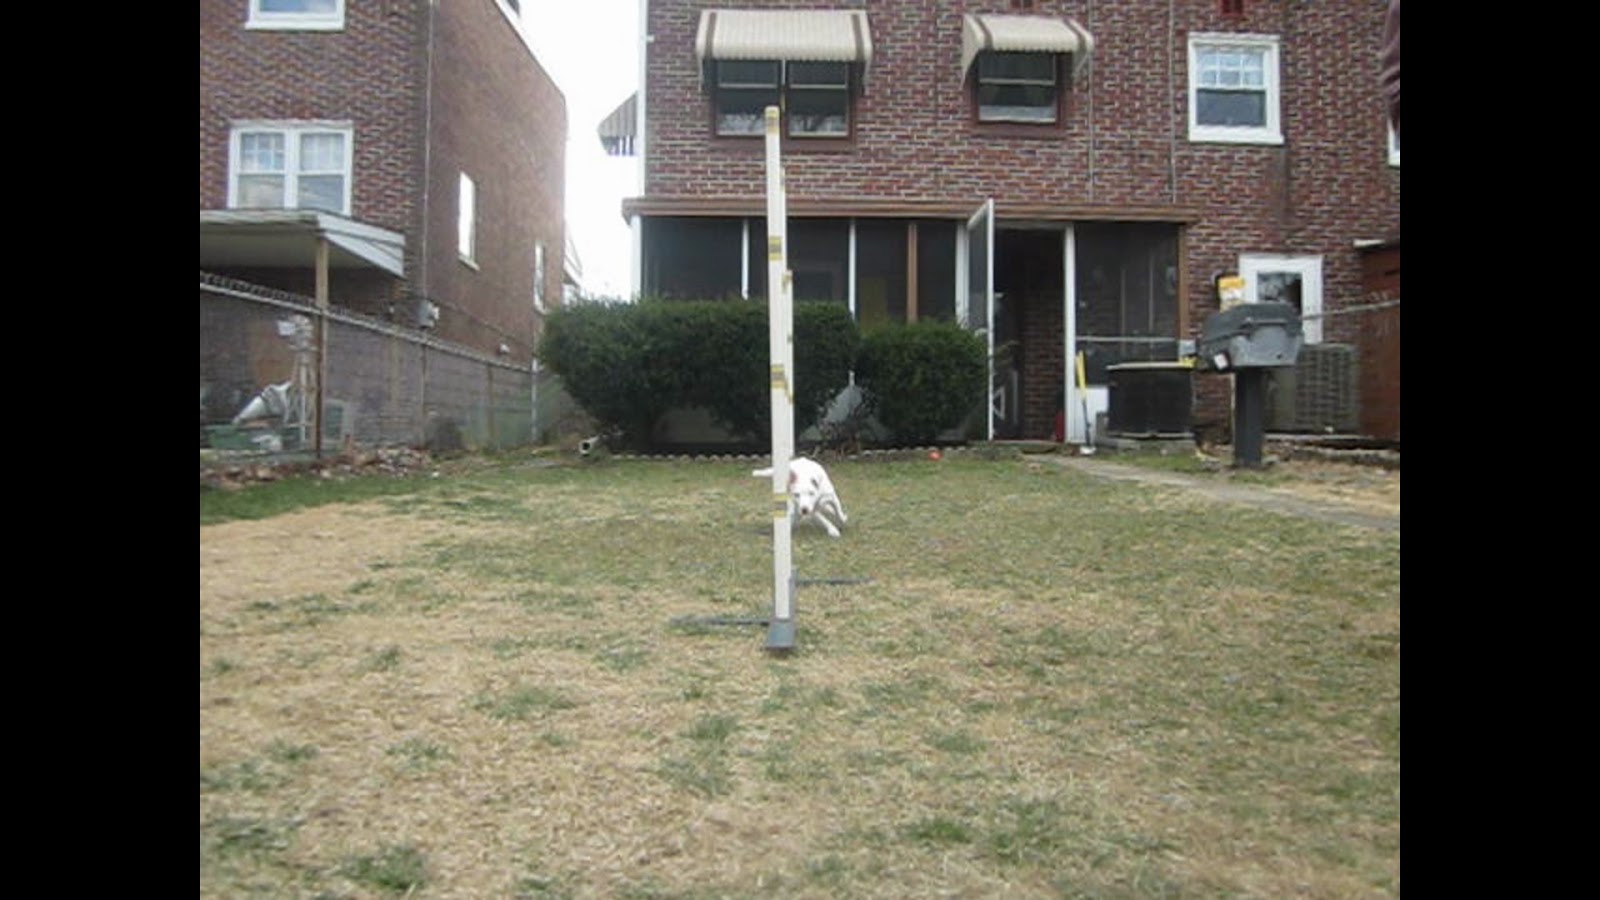
I had great success using the 2x2 method of weave training with Poppy a couple of years ago, so decided to use it again to train Hokey. However, with Poppy, I had used the "older" method where the 2x2s are set at angles and gradually moved to the straight position -- like channel weaves. This time, I decided to use Mary Ellen Barry's 2x2 method instead. An article outlining her method was published in the April 2009 issue of Clean Run and can be found, here, on the KineticDog website. This method puts the emphasis on teaching correct entries from multiple angles of approach. The sequence of screen capture snapshots below show Hokey approaching and entering the weaves from a sharp angle that requires her to wrap around the 1st pole, thereby demonstrating her understanding of what constitutes a correct entry even at this early stage in her training:


I wanted to document our progress, not only for the sake of this blog, but should I be in the position to be training another dog sometime in the future, it will be there to help guide me through the steps again. I suspect Hokey's progress, although not slow by any means, may be slightly slower than the average dog due to her deafness. I don't really want her looking at me as I want her focus to be on driving forward. Yet she is unable to receive any kind of auditory feedback, so she must rely on learning more by trial and error than a dog that can hear would. She does have a fairly low threshold for frustration though, often expressed with a loud snort, which requires us to take a break and do something else.
I believe I started Hokey with step 1 on March 6th or 7th and I did not document this step with video. It simply consists of shaping the dog to pass through the poles of a set of 2x2s by standing at one end and tossing treats for the dog whenever it passes through the 2 poles. Direction doesn't matter at this point. You simply want the dog to understand the value of passing between the 2 poles. However, you want to move quickly to the next step once the behavior has been established.
Step 2 begins by establishing direction - i.e. the dog learns that from now on the correct way to enter the weaves is with its left shoulder passing the 1st pole. At this point you always want to have your dog approaching the 2x2s from one direction; you do not want to turn around and come at them again from the direction you just came (i.e. "back weave"). Because of cold rainy weather, I began the 1st couple of steps in my basement, which is plenty big enough for the first couple of steps, but unfortunately appears to have been last decorated circa 1978.
Once direction is well-established and your dog is consistently hitting the entry you can move on to part B of step 2 which teaches your dog to wrap around the 1st pole at increasingly sharper angles of approach by gradually moving the 2x2s from a straight on approach to a perpendicular approach. Here is Hokey demonstrating this step:
Once the dog is successfully hitting the entry to the 2x2s at the above stage, you can start to move on to the Around-the-Clock work. The first stage consists of you and your dog moving around the set of 2x2s as if they were set with the 1st pole pointing toward 6 on a clock and the last pole pointing toward 12. You and your dog work all angles of approach in an arc from 6 - 11 clockwise and 6 - 1 counterclockwise. At this point you always have your dog by your side and may do a restrain and release.
The next step is to work Around-the-Clock positions where you are stationary but releasing the dog from various positions that don't require any actual handling. The following video shows me working Hokey on both sides from ONE of these positions. I had trouble with my spare camera battery dying on me, so was not able to capture some of the other positions, but the Clean Run article mentioned above shows the positions to work on.
Once the dog is hitting the entry well from the various positions, it's time to add another set of 2x2s. To do this, first place the 2nd set in line a few feet from the 1st. Send the dog through the first set and reward immediately after. Then send the dog through the second set.
Quickly fade the reward between the two sets then reward the dog for performing both sets together. Even though the dog is performing both sets at once, they should still be considered two separate obstacles, so you are actually moving with your dog to the 2nd set instead of remaining stationary.
Once the dog is moving through both sets of 2x2s, start all of your Around-the-Clock work again both with the dog at your side and then releasing from various positions.
Next, gradually start to move the 2nd set closer to the first and repeat the steps above.
Eventually the 2 sets of 2x2s come together and you start to see something that looks like weaving! Continue to work the various positions like here:
And here:
So that's where Hokey's training stands as of now. I believe I am ready to introduce the 3rd set of 2x2s into the mix so we will have 6 poles. That is, IF it stops snowing and it all melts away.


No comments:
Post a Comment